

Garlic Butter Pull-Apart Dinner Rolls

Soft homemade yeast rolls baked close together and brushed with warm garlic-parsley butter. The article explains dough feel, rising cues, and shaping twelve even rolls.
Printable Recipe Card
Garlic Butter Pull-Apart Dinner Rolls
Soft homemade yeast rolls baked close together and brushed with warm garlic-parsley butter. The article explains dough feel, rising cues, and shaping twelve even rolls.
25 minutes
25 minutes
160 minutes
12 servings
Side Dish
American
12 rolls
250 calories
Equipment
9x13-inch baking pan
Large mixing bowl
Kitchen scale
Dough scraper
Pastry brush
Thermometer
Ingredients
- 1 cup whole milk, warmed to 100 to 110 degrees F
- 3 tablespoons granulated sugar
- 2 1/4 teaspoons active dry yeast, 1 packet
- 4 tablespoons unsalted butter, melted and cooled, for dough
- 1 large egg
- 480 grams all-purpose flour, about 4 lightly measured cups, plus a little for handling
- 1 teaspoon fine salt
- 4 tablespoons unsalted butter, for topping
- 3 garlic cloves, finely minced
- 1 tablespoon finely chopped fresh parsley
- 1/8 teaspoon fine salt, for topping
Instructions
- Stir warm milk, sugar, and yeast in a bowl. Let stand 5 to 10 minutes until foamy; the milk should be warm, not hot.
- Mix in cooled melted dough butter and egg, then flour and 1 teaspoon salt. Form a shaggy dough and rest 5 minutes before judging whether extra flour is needed.
- Knead 8 to 10 minutes by hand, or with a dough hook according to mixer guidance, until smooth and elastic but slightly tacky. Add only small amounts of flour if necessary.
- Place in a greased bowl, cover, and rise in a warm draft-free place until doubled, usually about 60 minutes.
- Gently deflate and divide into 12 equal pieces. Shape smooth balls by tucking edges underneath. Arrange in a greased 9x13-inch pan, cover, and rise 30 to 45 minutes until puffy and nearly touching.
- Heat oven to 375 degrees F. Bake 20 to 25 minutes until golden and cooked through; around 190 degrees F inside is a useful bread cue. Tent if tops darken early.
- Warm topping butter and minced garlic gently in a small saucepan for 1 to 2 minutes without browning. Stir in parsley and remaining salt, then brush over hot baked rolls.
- Rest 10 minutes before pulling apart and serving.
Notes
Total includes approximately 90 to 105 minutes rising and a 10-minute rest; cool kitchens may need longer. Nutrition is estimated per roll including topping. Use dough expansion rather than the timer alone.
Storage
Because the finish contains fresh garlic and butter, refrigerate cooled rolls within 2 hours and use within 3 days. Freeze wrapped rolls for up to 2 months for quality.
Reheating
Warm covered in a low oven until soft and heated through. Uncover briefly at the end if desired; avoid drying the tops.
Variations
Use chives instead of parsley. A little garlic powder can replace fresh garlic in the topping. Refrigerate shaped rolls overnight and allow them to become puffy before baking.
Nutrition
Garlic butter pull-apart dinner rolls begin with a soft yeast dough and finish with a warm garlic-parsley butter brushed over the tops. Baking the rolls close together keeps their sides tender while the exposed domes turn golden. When you pull one away, the crumb should stretch into soft strands rather than crumble. These are plain dinner rolls with a savory finish, so there is no cheese filling or biscuit dough shortcut.
The dough uses milk, butter, an egg, and a little sugar for softness. It needs two rises, but most of that time is hands-off. A flexible schedule matters more than chasing an exact minute count because dough rises at different speeds in different kitchens. The recipe gives a total planning time of about two hours and forty minutes. Watch how the dough feels and expands, then let those cues guide you.
Measure Flour Before Adding More
Start with 480 grams of all-purpose flour, roughly four cups using a light spoon-and-level method. A cup scooped directly from the bag can pack in extra flour and produce a firm, dry dough. If you have a kitchen scale, use it. Keep a little extra flour nearby for the work surface, but do not add it automatically. The dough is supposed to feel slightly tacky before kneading develops its structure.
Different flour brands absorb liquid differently, so the exact feel can vary. After mixing, let the dough sit for five minutes before deciding it is too wet. The flour continues absorbing milk during that short pause. If it still smears like thick batter, add flour a tablespoon at a time. If it forms a dry, stiff ball immediately, a small spoonful of milk can help, but measured ingredients prevent most corrections.
Use Warm Milk Without Overheating the Yeast
Warm the milk to about 100 to 110 degrees F. It should feel warm rather than hot. Very hot milk can damage the yeast, while cold milk simply slows the rise. Stir in the sugar and active dry yeast and give the mixture five to ten minutes to look foamy. That check is useful when you are unsure how long the yeast packet has been in the cupboard.
If the mixture never becomes active, check the yeast date and milk temperature before sacrificing the rest of the ingredients. Instant yeast can also work, but the recipe's short proofing step is written for active dry yeast. Melt the dough butter separately and let it cool enough that it is no longer hot before mixing it with the milk and egg. The liquid ingredients should help the yeast work, not shock it with heat.
Knead Until the Dough Feels Elastic
Mix the flour and salt with the wet ingredients until a shaggy dough forms. Knead by hand for eight to ten minutes, or use a stand mixer with its dough hook according to the manufacturer's guidance. The dough should become smoother and stretch without tearing immediately. It does not need to be completely dry to the touch. A little tackiness is easier to manage with a bench scraper than with a large unmeasured handful of flour.
If the dough keeps snapping back and feels difficult to stretch, rest it for five minutes and continue. Gluten relaxes during that pause. If it sticks aggressively, lightly oil your hands or dust the surface, keeping additions small. Too much extra flour makes the rolls dense later. A soft enriched dough may take a little patience, but the reward is a tender center that stays pleasant after the rolls cool.
Let the First Rise Reach Its Own Finish
Place the kneaded dough in a lightly greased bowl, turn it once to coat, and cover. A warm, draft-free spot helps, but do not put it into a hot oven. In many kitchens the dough doubles in about an hour. A cool room can take longer. Mark the starting level on the bowl if it is difficult to judge, and look for a clear increase in volume instead of relying only on a timer.
A dough that has barely expanded needs more time before shaping. Baking rolls after an incomplete rise produces a tighter crumb even if all the ingredient measurements were correct. Conversely, leaving the dough long after it has collapsed can affect flavor and structure. Check periodically near the expected time. The kitchen's temperature, the yeast's strength, and the starting warmth of the ingredients all influence how quickly this stage finishes.
Shape Twelve Even Pieces
Gently deflate the risen dough and divide it into twelve portions. A scale makes this easy: weigh the whole dough and divide that number by twelve. Pull the edges of each piece underneath itself, then roll it against a clean surface with a cupped hand to build a smooth top. Pinch the underside closed. Uneven pieces still taste fine, but similar sizes bake and pull apart more neatly.
Arrange the balls in a greased 9x13-inch pan with small spaces between them. Cover and let them rise again until puffy and nearly touching. A gentle fingertip press should leave a shallow impression that slowly springs back. If the dough rebounds instantly, give it more time. If the rolls deflate when touched, they may have risen too far. Handle them gently while the oven heats so you preserve the gas inside.
Brush Garlic Butter After Baking
Bake at 375 degrees F until the tops are golden and the rolls are cooked through, usually twenty to twenty-five minutes. An internal temperature around 190 degrees F is a useful bread check. If the tops color too quickly, tent the pan loosely with foil. Warm the topping butter gently with minced garlic for a minute or two so the garlic softens without browning, then stir in parsley and a pinch of salt.
Brush the garlic butter over the hot baked rolls rather than before the full bake. That protects the minced garlic from scorching and keeps its flavor mellow. Wait ten minutes before pulling the rolls apart so the crumb has a chance to set. They suit chicken and wild rice soup, chili, or a roast dinner. For a faster cheesy appetizer with a different dough, see the garlic butter cheese bombs.
Make the Garlic Flavor Suit the Table
Freshly minced garlic gives the clearest aroma, but larger chunks need more gentle cooking in the butter. Keep the heat low and remove the pan as soon as the raw sharpness softens. If the garlic turns dark brown, start the topping again because burnt garlic can spoil all twelve rolls. Garlic powder is a convenient substitute when used sparingly; stir it into melted butter and let it hydrate briefly before brushing. Chives can replace parsley for a mild onion note.
Save Rolls for the Next Meal
Because the finish contains fresh garlic and butter, refrigerate the cooled finished rolls within two hours and use within three days. Warm them covered in a low oven so the crust does not become hard before the middle softens. A brief uncovered finish restores the tops. Freeze cooled rolls tightly wrapped for up to two months, then thaw and warm gently. Add a little fresh parsley after reheating if the original garnish looks dull.
You can refrigerate the shaped unbaked rolls overnight, covered, but give them enough time to become puffy before baking the next day. The colder dough may need a longer second rise. Nutrition is estimated per one of twelve rolls, including the garlic butter topping and excluding extra table butter. Milk, egg, flour, and butter brands change the final values slightly. The most useful success measure is still the feel of the dough and the soft crumb when you pull the first roll away.
Variations
Use chives instead of parsley. A little garlic powder can replace fresh garlic in the topping. Refrigerate shaped rolls overnight and allow them to become puffy before baking.
Storage and Reheating
Because the finish contains fresh garlic and butter, refrigerate cooled rolls within 2 hours and use within 3 days. Freeze wrapped rolls for up to 2 months for quality.
Food Safety Source
For safe cooking temperatures and food handling basics, see the USDA safe minimum internal temperature chart.
Frequently Asked Questions
Why are my rolls dense?
Too much flour or an incomplete rise can make rolls dense. Weigh the flour and allow the dough to double before shaping.
Can I shape the rolls the night before?
Yes. Cover and refrigerate the shaped rolls, then allow enough time for them to become puffy before baking the next day.
When do I add the garlic butter?
Brush it onto the hot baked rolls. This keeps the garlic from scorching during the full bake.
Does this recipe use biscuit dough?
No. It uses a yeast dough with two rises, creating a soft bread crumb without cheese filling.
More Recipes You'll Love
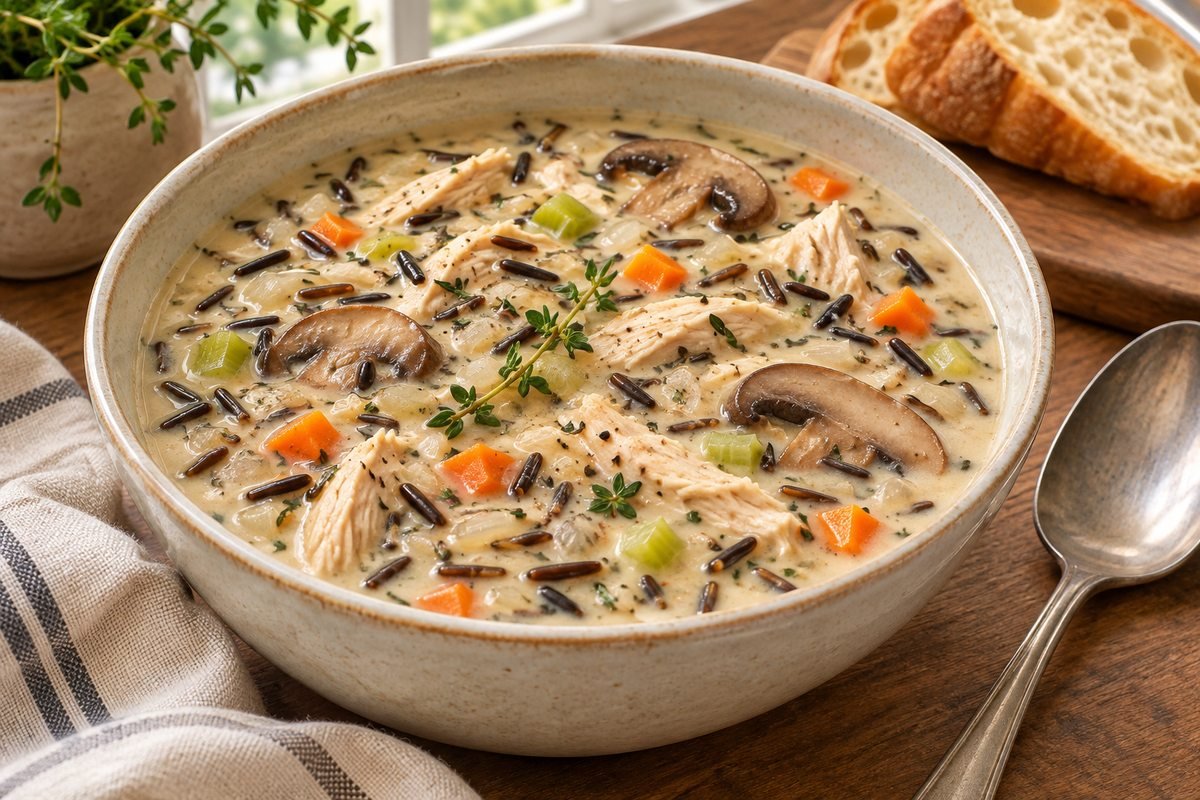
Creamy Chicken and Wild Rice Soup with Mushrooms
A creamy chicken soup with chewy wild rice, browned mushrooms, carrots, celery, and thyme. Cook the rice separately for
View Recipe
5-Ingredient Garlic Butter Cheese Bombs Everyone Will Love
Fluffy biscuit dough stuffed with melty mozzarella, baked golden and brushed with garlic butter and Italian seasoning.
View Recipe
Easy Cranberry Brie Pull-Apart Bread with Sourdough
Warm sourdough pull-apart bread stuffed with creamy Brie and tangy cranberry sauce, baked until melty and crisp with a h
View Recipe
No-Knead Slow Cooker Beer Bread (Only 2 Ingredients!)
Easy homemade beer bread made with just self-rising flour and beer, cooked in the slow cooker for a soft, rustic loaf.
View Recipe