

Brown Butter Chocolate Chunk Skillet Cookie

Bake a brown butter chocolate chunk skillet cookie with crisp edges and a soft center, with clear tips for browning butter and avoiding overbaking.
Printable Recipe Card
Brown Butter Chocolate Chunk Skillet Cookie
Bake a brown butter chocolate chunk skillet cookie with crisp edges and a soft center, with clear tips for browning butter and avoiding overbaking.
25 minutes
25 minutes
65 minutes
10 servings
Dessert
American
10 servings
370 calories
Equipment
10-inch oven-safe skillet
Light-colored saucepan
Mixing bowls
Ingredients
- 1/2 cup unsalted butter
- 1 tablespoon water
- 1/2 cup packed light brown sugar
- 1/4 cup granulated sugar
- 1 large egg
- 1 teaspoon vanilla extract
- 1 1/4 cups all-purpose flour, spooned and leveled
- 1/2 teaspoon baking soda
- 1/4 teaspoon fine salt
- 1 cup chopped semisweet chocolate
- Butter for greasing the skillet
Instructions
- Heat oven to 350 degrees F and lightly grease a 10-inch oven-safe skillet.
- Melt butter in a light-colored saucepan over medium heat. Stir as it foams, then remove promptly when milk solids turn golden brown and smell nutty. Pour into a heatproof bowl and cool 10 minutes.
- Stir in 1 tablespoon water after the butter has cooled enough not to spatter. Whisk in both sugars, then egg and vanilla until combined.
- Whisk flour, baking soda, and salt separately. Fold into wet ingredients just until flour disappears, then fold in chocolate.
- Spread evenly in the skillet. Bake 20 to 25 minutes until edges are set and the center is softly set, not wet batter. Rest 15 minutes before cutting or scooping. The hot skillet continues cooking the center.
Notes
Nutrition is an estimate per serving, not a laboratory analysis. Brands, substitutions, and portion sizes affect the values. Image is an AI-generated illustration. This newly developed recipe has not been independently kitchen-tested. Use chopped milk chocolate for a sweeter cookie or add a small handful of walnuts, checking allergies. Optional ice cream is not included in nutrition.
Storage
Cover cooled cookie and keep at room temperature up to 2 days or refrigerate up to 4 days. Freeze slices up to 2 months.
Reheating
Warm a portion briefly in the microwave. Keep skillet handles protected after baking.
Variations
Use chopped milk chocolate for a sweeter cookie or add a small handful of walnuts, checking allergies. Optional ice cream is not included in nutrition.
Nutrition
Brown butter chocolate chunk skillet cookie is a shareable dessert with crisp edges, a soft center, and pockets of melted chocolate. Browning the butter adds a nutty aroma without adding nuts. The dough goes into a skillet rather than being portioned into individual cookies, so the finished dessert is easiest to serve in small wedges or scoops after a short cooling period.
The key step is cooling the browned butter before adding the egg. Hot butter can cook the egg and make the dough greasy. This recipe also replaces a little of the water lost while browning, which helps keep the texture predictable. You do not need to bake the center until dry; a just-set middle continues firming as the skillet rests.
Brown Butter With Your Eyes and Nose
Melt butter in a light-colored saucepan over medium heat so you can see the milk solids change color. It will foam, then small tan specks appear underneath. Stir and watch closely as those specks become golden brown and the aroma turns nutty. Remove from the heat before they become black, since the carryover heat can continue browning them.
Pour into a heatproof bowl, including the brown specks, rather than leaving it in the hot saucepan. If it smells burnt or tastes bitter after cooling, start again. Burnt butter cannot be hidden reliably under extra sugar or chocolate. A light pan and steady attention are more useful than a strict stopwatch because stove strength and saucepan thickness vary.
Restore a Little Moisture Before Mixing
Browning evaporates water from butter. The recipe adds a measured tablespoon of water after the butter has cooled enough that it will not spit. That modest correction helps the dough behave more like an ordinary cookie dough while keeping the toasted flavor. Do not pour cold water into violently bubbling hot fat.
Let the butter become warm rather than hot before mixing with sugar. It should remain fluid enough to stir smoothly. If it has become fully solid, warm it very gently, then cool again as needed. Adding extra flour because hot dough looks loose can create a dry cookie after the butter finally cools.
Use Brown and White Sugar for Contrast
Brown sugar contributes moisture and a caramel-like flavor, while a smaller amount of granulated sugar helps the edges crisp. Mix both with the cooled browned butter before adding egg and vanilla. The mixture does not need to become a pale whipped frosting. Stirring until the sugar is evenly moistened is enough for this skillet method.
Measure the egg and flour as written. A much larger egg or a compacted cup of flour changes the center texture. Whisk the baking soda and salt into the flour first, then fold into the wet mixture only until combined. Overmixing after flour is added can make the cookie tougher, especially around the thinner edges.
Choose Chocolate Pieces That Melt Differently
Chopped chocolate creates irregular pools, while chocolate chips hold more of their shape. A mixture works well if you want both. Use semisweet or bittersweet chocolate depending on how sweet you like dessert. Milk chocolate makes the skillet sweeter and can be pleasant, but it changes the balance against the brown sugar.
Reserve a few pieces for the surface so the top clearly shows the chocolate. Do not pack a dense extra layer over the dough, which can hide whether the center is set. Chopped nuts are optional, though the base recipe intentionally has none. If sharing with people who have allergies, identify any added nut variation clearly.
Match the Skillet Size to the Dough
A ten-inch oven-safe skillet gives a useful balance of thick center and crisp edge. A larger pan makes a thinner cookie that finishes sooner. A smaller one creates a deeper center that may remain raw while the rim overbakes. Lightly grease the pan and press the dough into an even layer rather than leaving a mound in the middle.
Cast iron retains heat after it leaves the oven, so set it on a trivet and keep the handle away from reaching hands. An oven-safe baking dish can be substituted, but it may brown differently. Begin checking early whenever changing the pan material or dimensions. Do not put an ordinary non-oven-safe skillet into the oven simply because the dough fits.
Look for a Set Surface With a Soft Middle
Bake at 350 degrees F until the edges are golden and the center surface no longer looks wet with raw dough. The middle can remain soft without being liquid. A fully dry toothpick is not the best goal because chocolate and the intended soft texture make that misleading. Allow at least fifteen minutes of rest before serving.
Raw flour and egg need cooking, so do not intentionally serve a liquid batter center. Resting lets the cookie finish setting while protecting the moist crumb. For another chocolate dessert with a different structure, see the triple chocolate brownies. A skillet portion is rich enough without a large pile of extra chocolate sauce.
Serve and Store Small Portions
Cut into wedges when sufficiently cool or scoop a warm portion with a broad spoon. A small scoop of vanilla ice cream beside the cookie is optional. Place it beside rather than over the entire skillet if you expect leftovers, since melted ice cream quickly softens the surface. The apple oat crumble gives a fruit-based alternative for another evening.
Cover cooled leftovers and keep in a cool room for about two days, refrigerating for longer storage up to five days. Freeze wrapped portions for up to two months for quality. Warm briefly rather than baking again until dry. Nutrition is estimated for ten portions without ice cream; larger wedges and extra toppings change the serving values substantially.
Variations
Use chopped milk chocolate for a sweeter cookie or add a small handful of walnuts, checking allergies. Optional ice cream is not included in nutrition.
Storage and Reheating
Cover cooled cookie and keep at room temperature up to 2 days or refrigerate up to 4 days. Freeze slices up to 2 months.
Food Safety Source
For safe cooking temperatures and food handling basics, see the USDA safe minimum internal temperature chart.
Frequently Asked Questions
Can I use an 8-inch skillet?
It creates a thicker cookie that needs a different bake time. A 10-inch pan gives the intended depth.
Why add water to brown butter?
Browning evaporates water. A measured tablespoon helps replace some of that moisture; add only after cooling to avoid splattering.
Can I mix the dough ahead?
Yes. Cover and refrigerate up to 2 days. Allow extra baking time when cold and check the center.
Is a gooey center the same as raw dough?
No. The center should be softly set, not liquid batter. Do not serve raw flour or raw egg dough.
More Recipes You'll Love

Easy Oatmeal Cookies with Chocolate Ganache Filling
Crispy oat and coconut cookies sandwiched with rich chocolate ganache for a sweet homemade dessert treat.
View Recipe
Easy Chocolate Cherry Cheesecake with Cookie Crust
Rich chocolate cookie crust cheesecake layered with cherry filling and topped with silky chocolate ganache, whipped crea
View Recipe
Rich Black Forest Brownie Stacks with Chocolate Drizzle
Decadent brownie stacks layered with whipped cream, cherries, and chocolate drizzle for a rich Black Forest-inspired des
View Recipe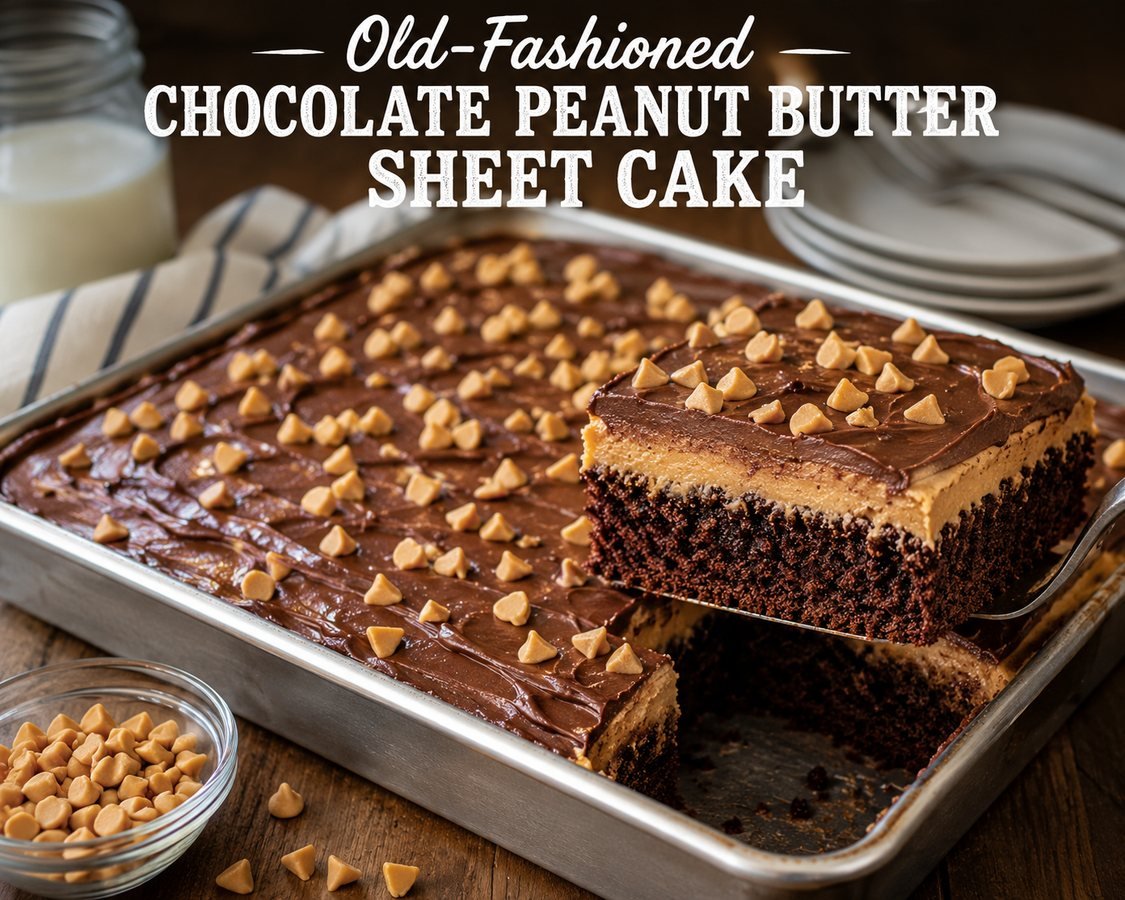
Old-Fashioned Chocolate Peanut Butter Sheet Cake
Old-fashioned chocolate peanut butter sheet cake with a tender chocolate base, creamy peanut butter layer, glossy chocol
View Recipe