

Classic Tuna Salad with a Healthy No-Mayo Twist

Creamy classic tuna salad with a lighter no-mayo option-perfect for sandwiches, wraps, or low-carb lunches.
Printable Recipe Card
Classic Tuna Salad with a Healthy No-Mayo Twist
Creamy classic tuna salad with a lighter no-mayo option-perfect for sandwiches, wraps, or low-carb lunches.
10 minutes
Not listed
10
4 servings
Lunch
Not listed
4 servings
290 calories
Ingredients
- 3 (5-ounce) cans tuna in water, drained
- 1/3 cup mayonnaise
- 1 tablespoon Dijon mustard
- 1 tablespoon fresh lemon juice
- 1/3 cup finely diced celery
- 2 tablespoons finely diced red onion
- 1/2 teaspoon salt
- 1/4 teaspoon black pepper
- No-Mayo Option: 1/2 cup plain Greek yogurt (replace mayonnaise)
- Optional Add-In: 1 tablespoon chopped fresh parsley
Instructions
- Drain tuna well and transfer to a medium bowl. Flake with a fork.
- For the classic version, add mayonnaise, Dijon mustard, lemon juice, celery, red onion, salt, and black pepper.
- For the no-mayo version, replace mayonnaise with Greek yogurt and stir in the remaining ingredients.
- Mix gently until fully combined and creamy.
- Chill for at least 20 minutes for best flavor, then serve on bread, in wraps, over greens, or with crackers.
Nutrition
When I need a fast, filling lunch that doesn’t require cooking, tuna salad is one of my go-to recipes. It’s creamy, flavorful, and ready in just 10 minutes. Even better, it’s packed with protein and works for sandwiches, wraps, lettuce cups, or low-carb bowls.
What makes this recipe especially useful is that it includes two versions: a classic creamy tuna salad made with mayonnaise, and a lighter no-mayo option using Greek yogurt. Both are delicious, simple, and perfect for meal prep.
Let’s break down how to make it—and why it works so well.
Why Tuna Salad Is a Lunch Staple
Tuna salad has been a popular lunch option for decades. It’s affordable, shelf-stable before opening, and incredibly versatile. Canned tuna in water is high in protein and low in carbohydrates, making it a smart choice for a balanced meal.
It’s also ideal for busy schedules. There’s no stove or oven required—just open, mix, and serve.
Classic vs. No-Mayo: What’s the Difference?
Classic Tuna Salad
- Rich and creamy
- Slightly indulgent
- Traditional flavor
No-Mayo Greek Yogurt Version
- Lighter texture
- Higher in protein
- Slightly tangier taste
Both versions are delicious—it just depends on your preference.
Nutrition Snapshot (Per Serving – Classic Version)
- Calories: 290
- Fat: 18 grams
- Carbohydrates: 3 grams
- Protein: 29 grams
The Greek yogurt version may slightly lower the fat content while boosting protein.
Serving Ideas
Tuna salad is incredibly versatile. Here are some ways I like to serve it:
- On whole-grain sandwich bread
- Inside a wrap or tortilla
- Stuffed into pita pockets
- Over mixed greens
- In lettuce cups for a low-carb option
- With whole-grain crackers
It’s perfect for packed lunches, quick dinners, or picnic meals.
Storage Tips
- Store in an airtight container in the refrigerator.
- Best enjoyed within 3–4 days.
- Stir before serving if any liquid separates.
Because it contains mayonnaise or yogurt, it should always be kept chilled.
Why This Recipe Works
This tuna salad recipe works because it balances creamy, crunchy, and tangy elements. The lemon juice brightens the richness. The celery adds freshness and texture. The mustard enhances flavor without overpowering the tuna.
And since it only takes 10 minutes to prepare, it’s one of the easiest high-protein lunches you can make.
Final Thoughts
Tuna salad proves that simple ingredients can create something satisfying and nutritious. Whether you stick with the classic creamy version or try the lighter no-mayo option, this recipe is quick, versatile, and perfect for meal prep.
If you’re looking for a lunch that’s easy, affordable, and protein-packed, this tuna salad deserves a spot in your weekly routine.
Why You?ll Love This Recipe
This Classic Tuna Salad with a Healthy No-Mayo Twist is built for home cooks who want a reliable Lunch without turning dinner or dessert into a project. The ingredient list stays approachable, the method is clear, and the finished dish gives you the kind of comfort-food payoff that makes a recipe worth saving.
Because the recipe card below keeps the exact measurements and steps organized, this article focuses on the practical details that help the recipe come out better: timing, texture, ingredient choices, storage, serving ideas, and simple ways to adjust the flavor for your table.
Tips for the Best Results
Use the listed times as a guide, but remember that cookware, appliance strength, ingredient size, and starting temperature can all affect the final result. This recipe lists 10 minutes of prep time, the listed cook time of cook time, and about 10 total time, which makes it easier to plan around dinner, parties, or weekend cooking.
Season thoughtfully. Many comfort-food recipes use flavorful packaged ingredients, cheese, sauces, or seasoning blends, and those can vary in salt level. Taste when it is safe to do so, then adjust at the end. A small amount of acid, fresh herbs, black pepper, or a creamy topping can make the finished dish feel more balanced.
Easy Variations
You can adapt this recipe based on what your family likes. Keep the main method the same, then change the seasoning, topping, vegetable, or serving style. If you want more heat, add a spicy element. If you want something milder, reduce strong seasonings and finish with a creamy or fresh topping.
For a heartier version, serve it with a simple side such as rice, potatoes, salad, bread, or roasted vegetables. For a lighter version, pair it with crisp greens or fresh fruit, depending on whether the recipe is savory or sweet.
Storage and Reheating
Store leftovers in an airtight container in the refrigerator once the food has cooled. Most cooked dishes keep well for three to four days, while many desserts keep best when covered tightly so they do not dry out.
Reheat gently when possible. A microwave is convenient for individual portions, but an oven, skillet, or air fryer can help bring back texture when the recipe has a crisp, baked, or toasted element.
What to Serve With It
This recipe makes 4 servings, so it can work as a main dish, side, dessert, or shareable recipe depending on the category. For savory recipes, pair it with something fresh or simple so the meal does not feel too heavy. A salad, roasted vegetable, bread, rice, or potatoes can round out the plate.
For sweeter recipes, serve smaller portions with coffee, milk, whipped cream, fresh fruit, or a simple scoop of vanilla ice cream. The goal is to support the main flavor rather than cover it up.
Food Safety and Doneness
Use visual cues and safe cooking temperatures when judging doneness. For meat, poultry, seafood, and egg-based recipes, an instant-read thermometer is the most reliable tool. You can review official guidance on the USDA safe minimum internal temperature chart.
For baked goods and desserts, look for the texture cues in the recipe card: set centers, golden edges, clean tester marks, or proper chilling time. Letting a recipe rest before serving often improves texture and makes slicing or plating easier.
Food Safety Source
For safe cooking temperatures and food handling basics, see the USDA safe minimum internal temperature chart.
Frequently Asked Questions
Can I make Classic Tuna Salad with a Healthy No-Mayo Twist ahead of time?
You can usually prepare some parts ahead of time, but follow the storage and reheating notes in the recipe for the best texture and food safety.
How should I store leftovers?
Store leftovers in an airtight container in the refrigerator. Use the storage instructions on this page when available, and reheat gently until hot.
Can I change the ingredients?
Yes. Most home-style recipes can be adjusted for taste, but keep the core cooking method and safe internal temperatures in mind when changing proteins or cook times.
More Recipes You'll Love
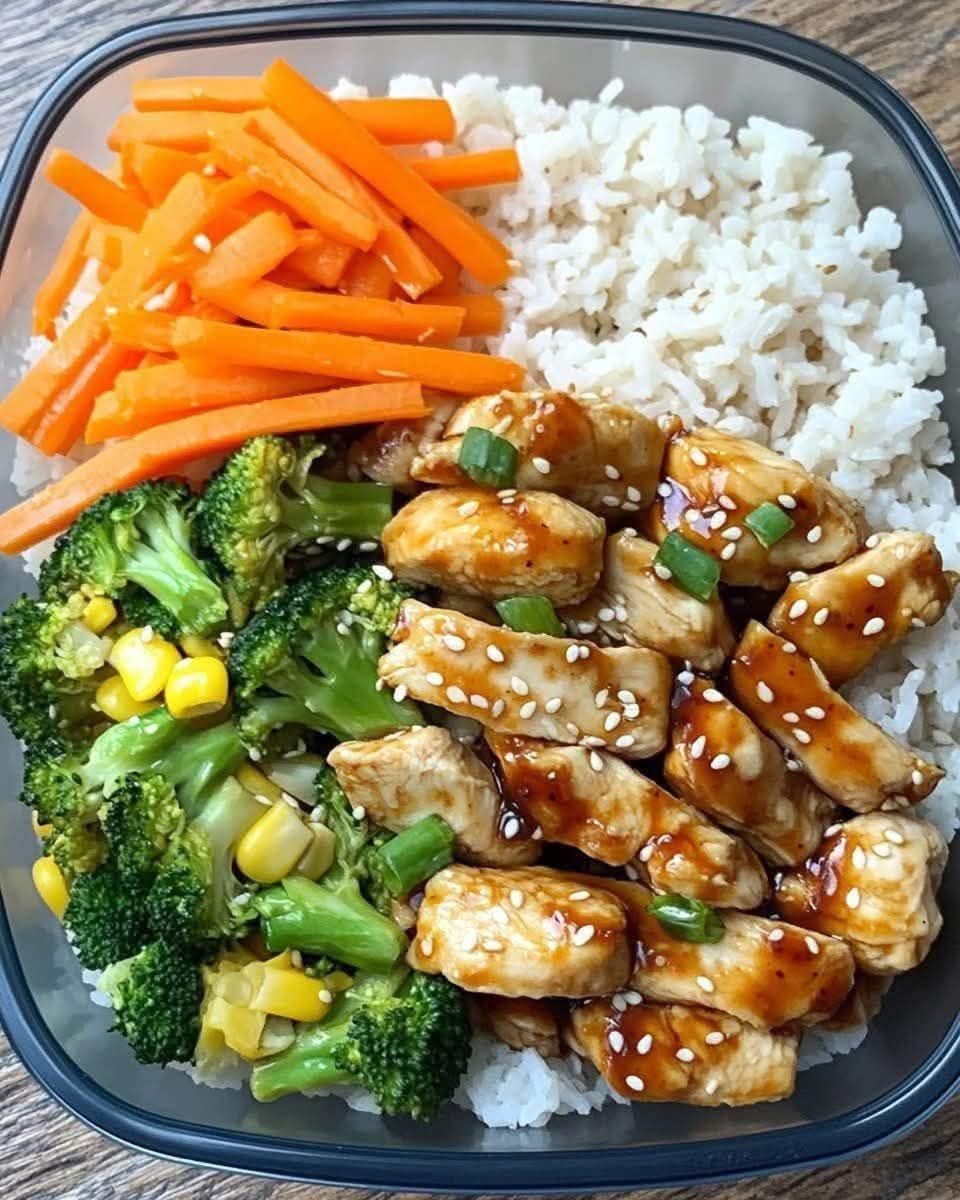
Quick Teriyaki Chicken Rice Bowl (Better Than Takeout)
Savory teriyaki chicken served over rice with broccoli, carrots, and corn for a colorful, satisfying meal bowl.
View Recipe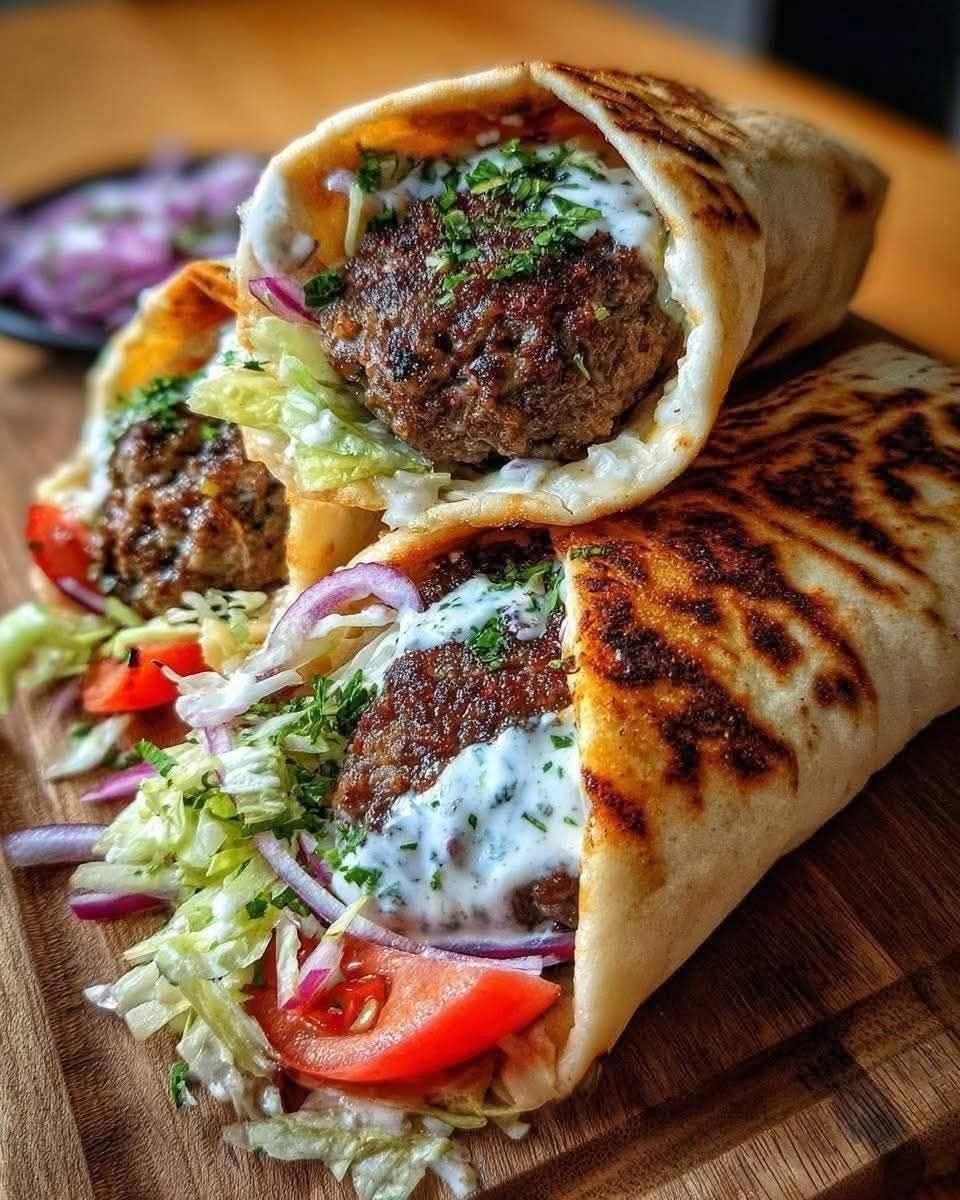
Homemade Beef Kofta Wraps – Quick 25-Minute Mediterranean Lunch
Flavorful beef kofta wrapped in warm pita with fresh vegetables and creamy garlic yogurt sauce.
View Recipe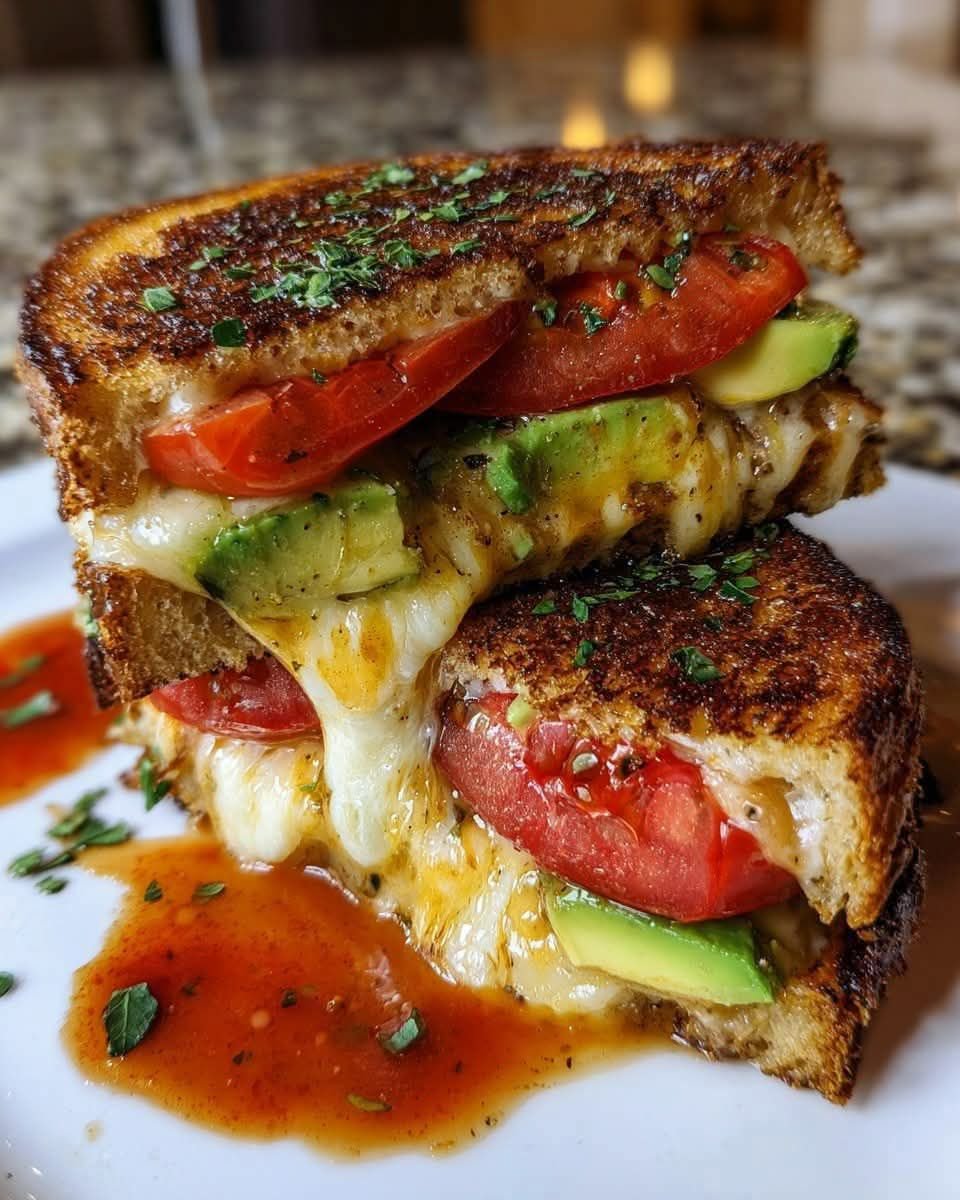
Creamy Avocado Caprese Grilled Cheese (Easy Lunch Recipe)
Buttery grilled cheese with creamy avocado, fresh mozzarella, juicy tomatoes, and basil on crisp sourdough bread.
View Recipe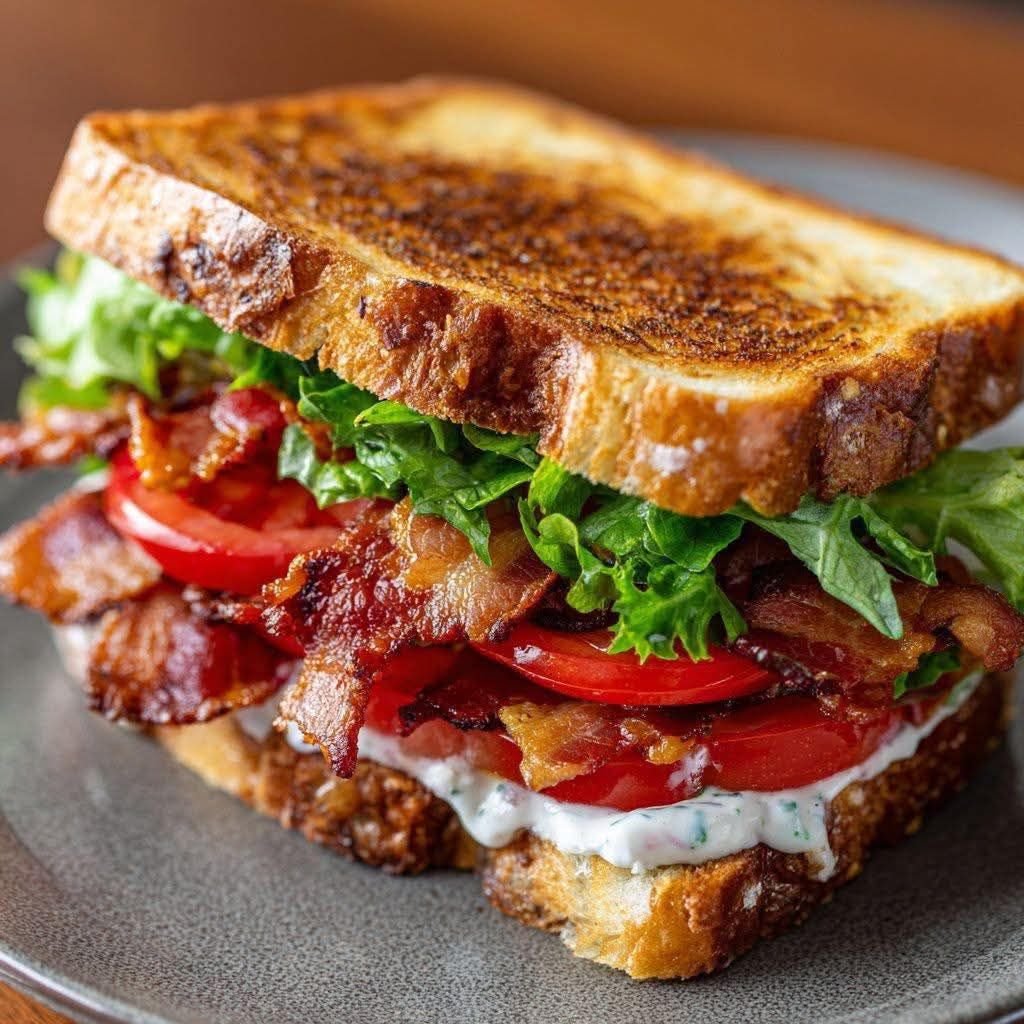
Easy Classic BLT Recipe (Better Than Diner Style)
A classic diner-style BLT sandwich with crispy bacon, fresh lettuce, ripe tomato, and creamy mayonnaise on toasted sourd
View Recipe